Planing stage |

|
|
|
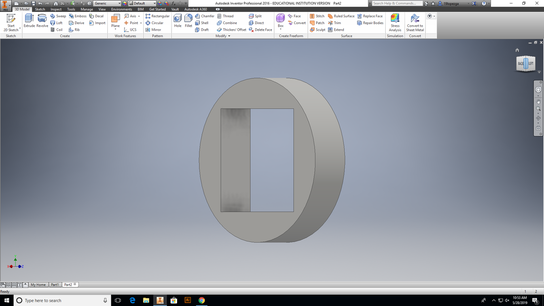
In this stage I was figuring out how I wanted my base for the clock to look like.
|
I went with the round base because I wanted to keep some aspects from an original clock.
|
Time For Printing
|
|
|
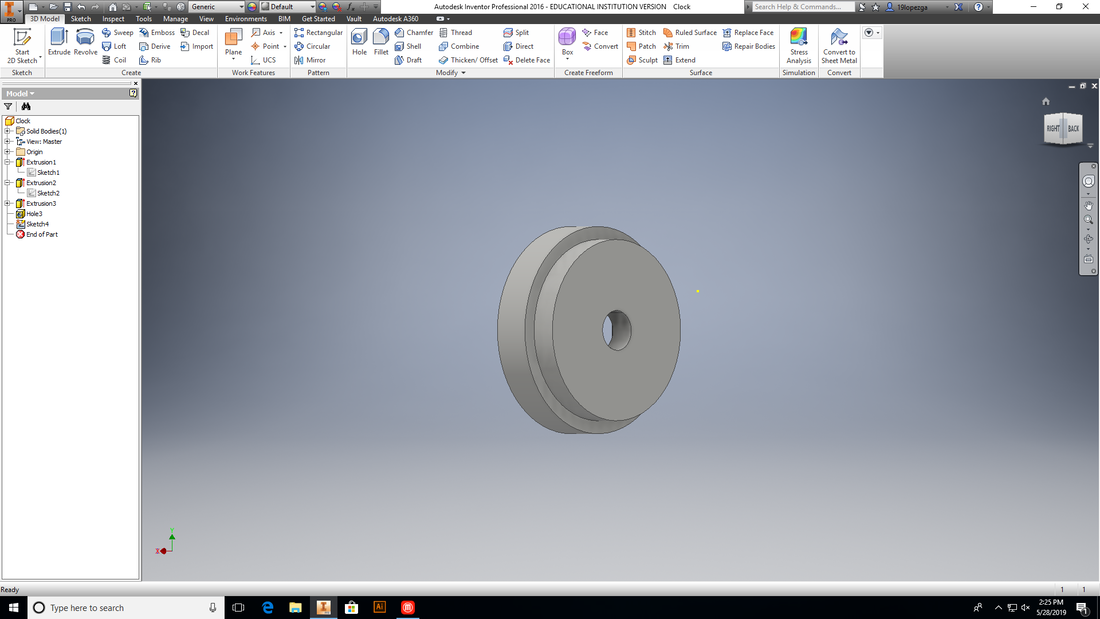
This was the final product from my base in inventor. i was happy with how it came out and was surprisingly easy to create.
|
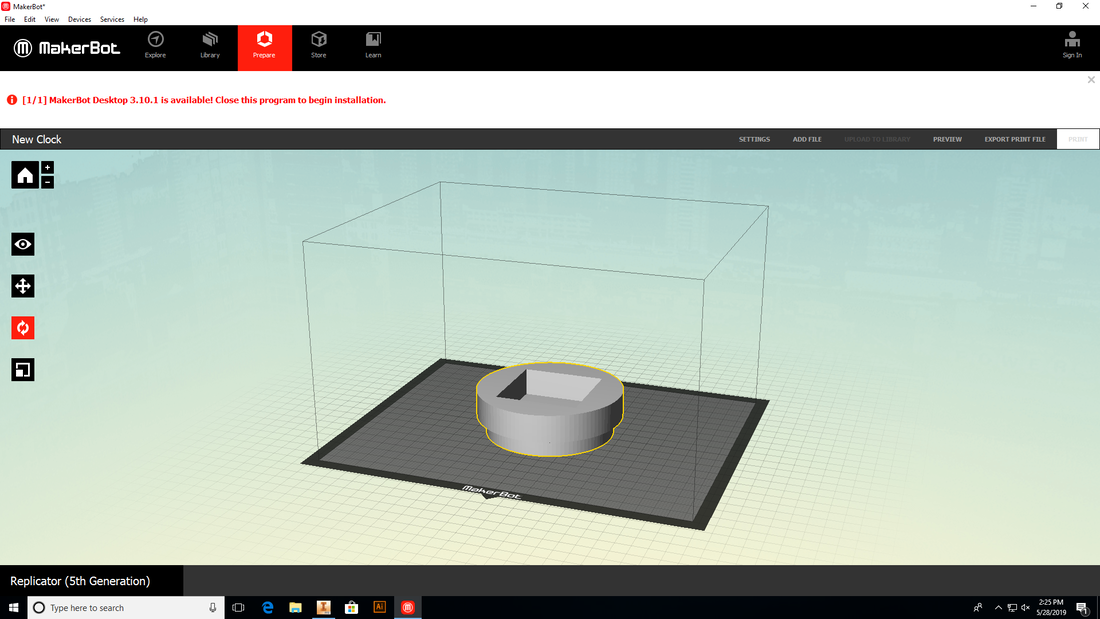
This was when i exported to maker bot to begin checking the seizing and layout. After I reworked my dimension in inventor I was able to get the right size for the 3-D printer.
|
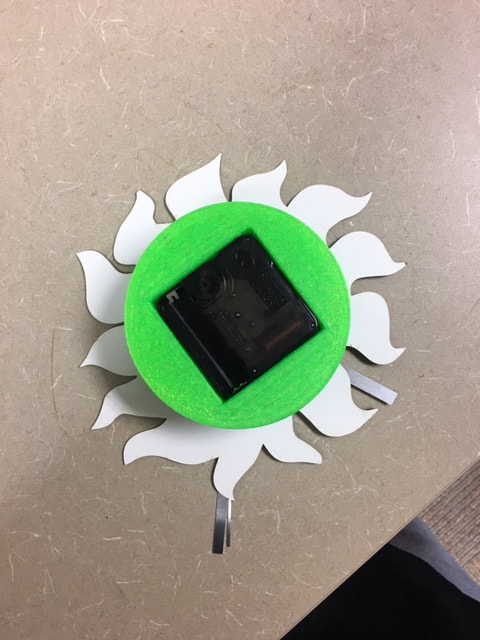
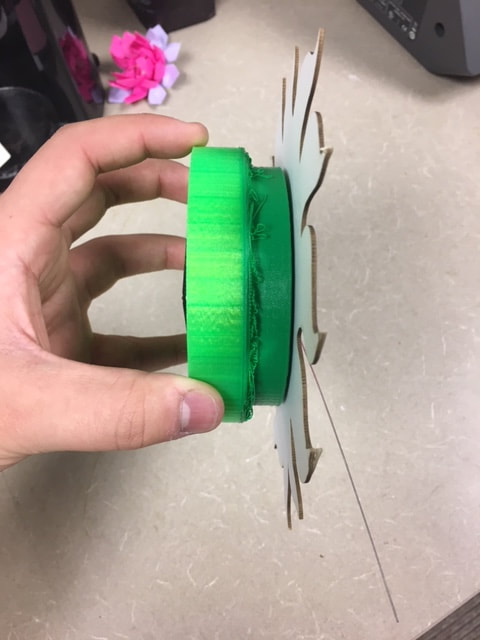
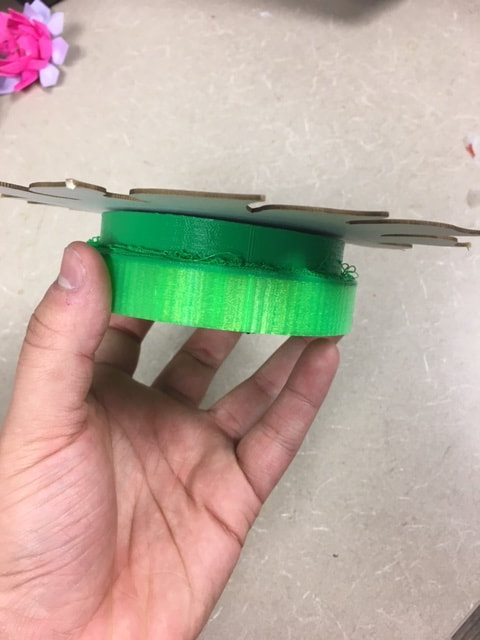
Close To Finishing
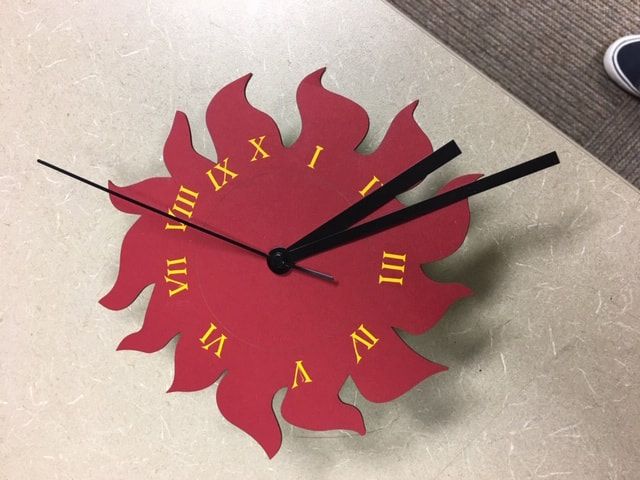
I was able to cut out the sun decal using the laser cutter and i used the Matt board for my material. While I used the vinyl cutter to cut out my roman numerals. I had some issues with both of these machine leading me to do a second attempt which is the one that worked! I'm also really happy on how the colors looked together and the design makes the clock look very unique.
Final Product
|
SummaryOverall I really enjoyed doing this project. I like how we were asked to use multiple machines it really brought diversity to this project. It made it feel like a real project with putting all the pieces together to make one device that actually works! I also liked how it made me learn to plan out my timing and how i would put everything together. With also helping me with problem solving and overcoming obstacles. For example when I had to redo my dimensions and rework my vinyl cut numbers and laser decal. I did not let these obstacles slow me down which was great for timing and efficiency. In the end I'm super happy how it came out, just how i imagined it.
|
